Baby bibs for BLW: Grabease all-over bib, Bumkins sleeved bib, or Tidy-tot bib?
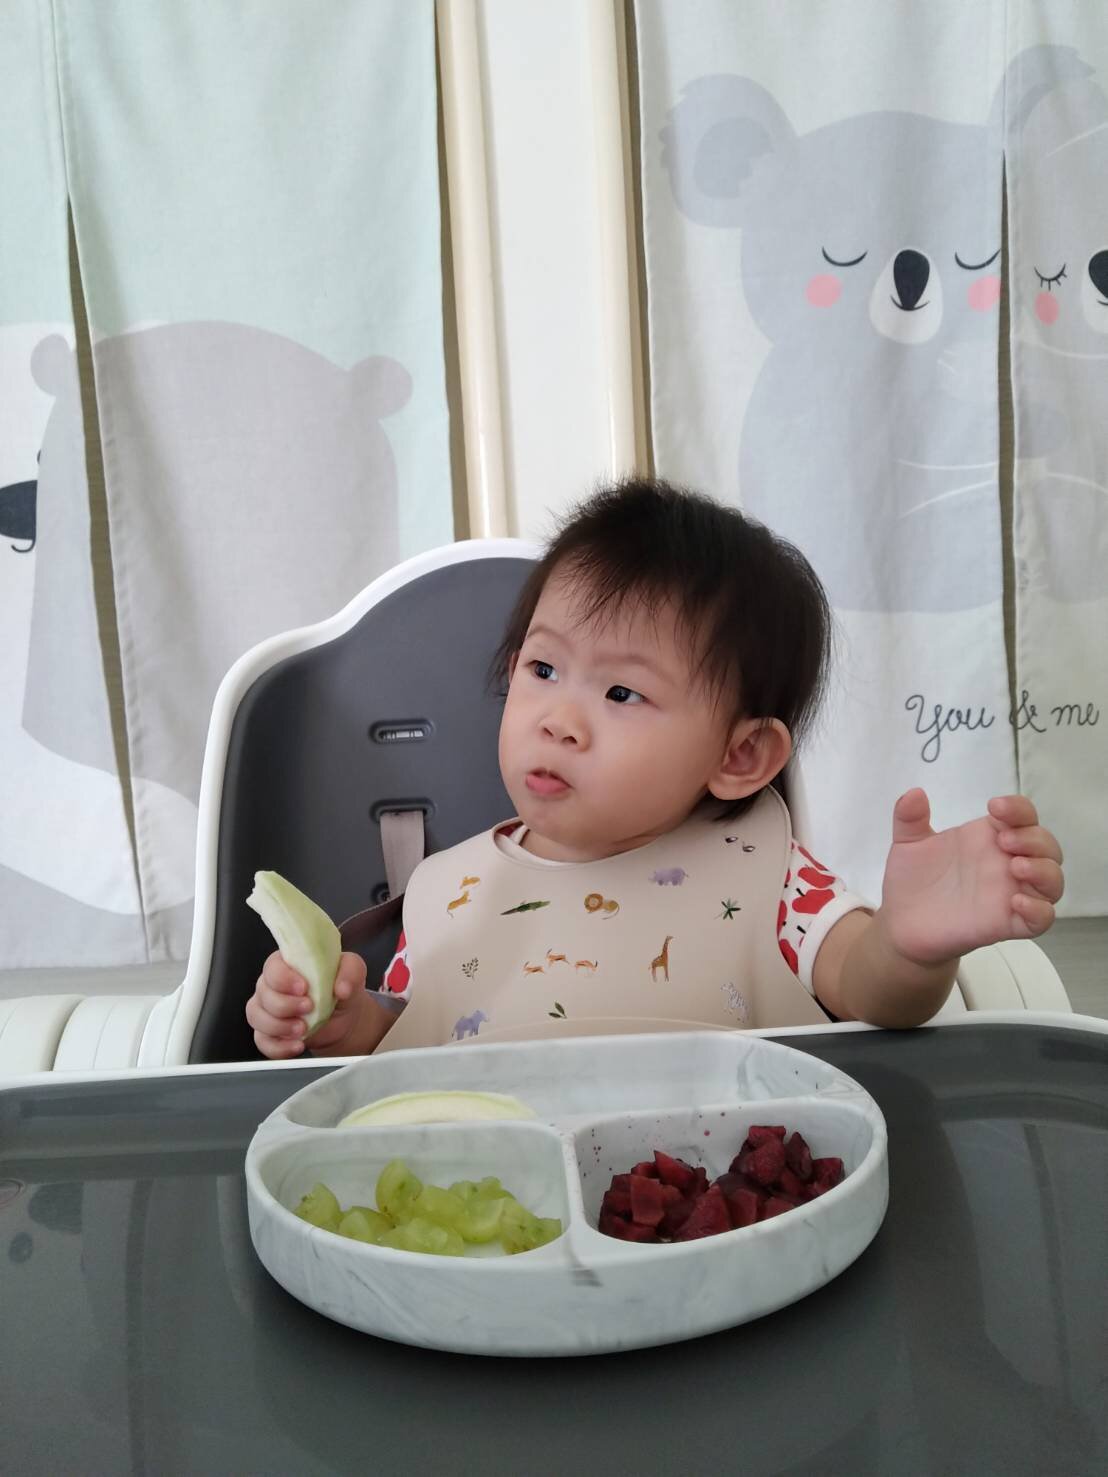
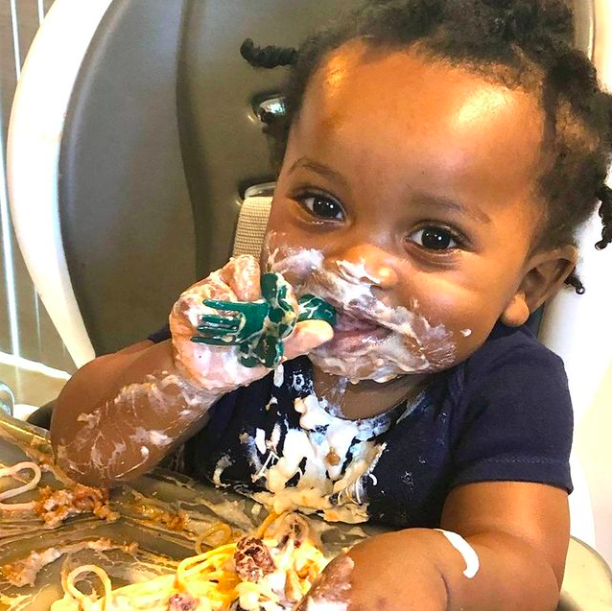
/Baby led weaning (BLW) could be so messy and frustrating, but BLW is totally worth the mess! So I choose to raise my baby with BLW method and I know I need to stocking up on a few great BLW bibs, it help me to feel so much happier while doing BLW. No constantly stress about the mess and instead I can enjoy eating with my daughter. I have 3 great bibs, Grabease, Bumkins, and Tidy-tot. I’ll let you know the pros and cons of each bibs.
My daughter always sat on her highchair during mealtime, so in this article, I will focus on the bibs that are designed for highchair user. Check out here for on-the-go bibs.
Contents:
| Bumkins sleeved bibs pros and cons
| Grabeaase all over bibs pros and cons
Why we need bibs when BLW
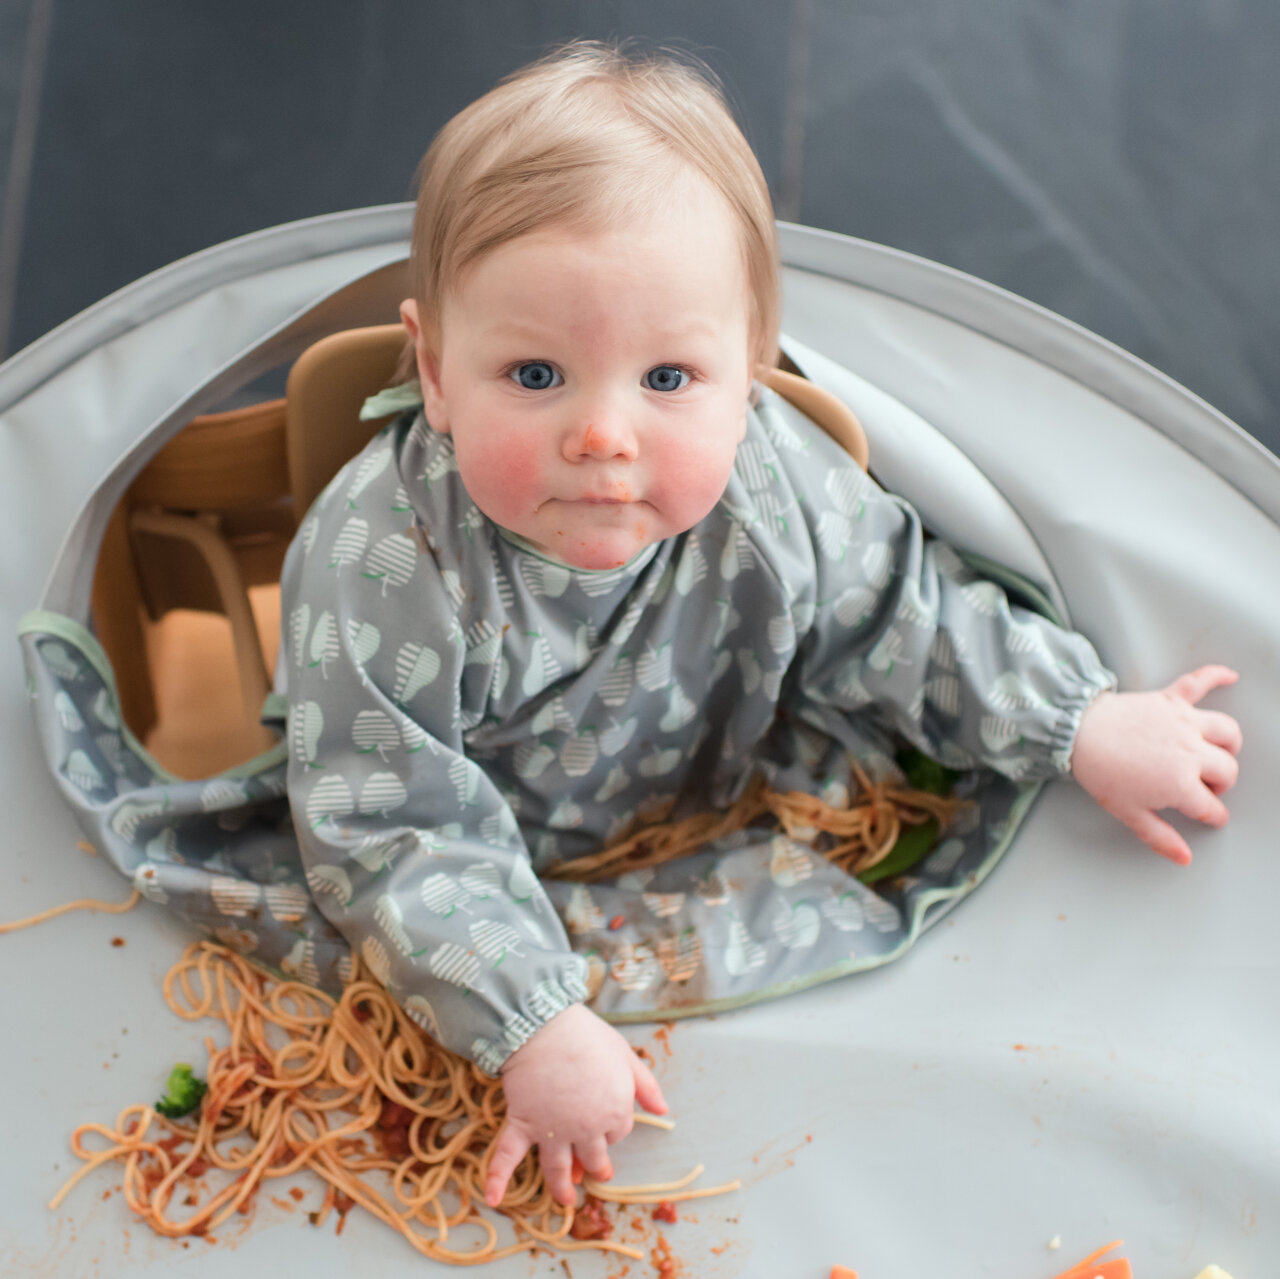
It is of course to minimize the mess. A good bib can catch food easily, some bibs offer full coverage over clothing including sleeves, others are made from soft muslin or high-tech neoprene and some are more rigid, made with pockets to collect any spills. Not all bibs are equal and it is important to look for fabrics that are comfortable, protective, durable and washable, along with a design suited to your child’s stage and that is easy to fasten.
I always look for a durable, easy to wash and the perfect size for protecting baby’s clothes but not getting in the way of self-feeding. I also love bibs with a handy pocket to catch falling food. With a fresh bib for each meal, I can recycle food that’s fallen into the pocket back on to baby’s plate or bowl, also helping to minimize food waste.
Read also: 3 Rules you must follow when giving first food to your children
But if you are one of those moms whose always let your child naked, then you might not need the bibs so much, haha.
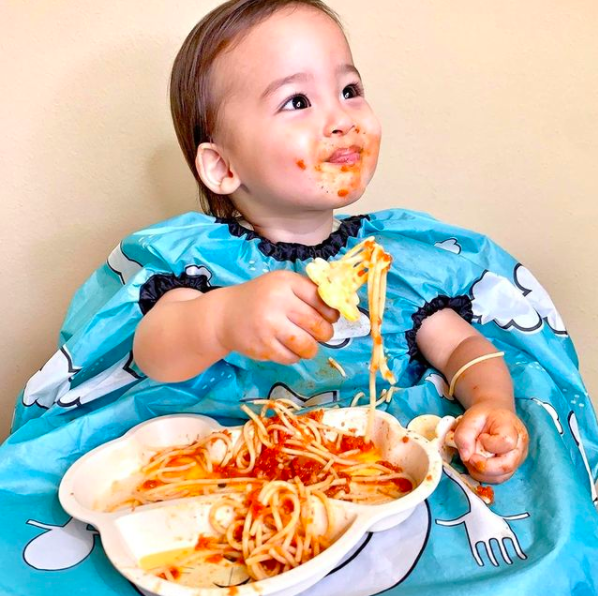
Bumkins sleeved bibs pros and cons
The good:
Lightweight but durable long-sleeved bibs featuring a catcher pocket.
Bumkins sleeved bibs protect almost every inch of my daughter’s clothes from spills
They machine wash
Free from BPA, PVC, phthalates and lead
I love the tie back, not only it gives plenty of room to grow, my daughter keep pulling off the bibs that have velcro
Wrists have little cuffs so nothing can get up the sleeves
The not so good:
One small criticism from me was that the bibs could get stained with time
If I went to a restaurant without air conditioner, my daughter will be pretty cranky due to the long sleeves and she feel hot.. I recommend it for at-home-usage

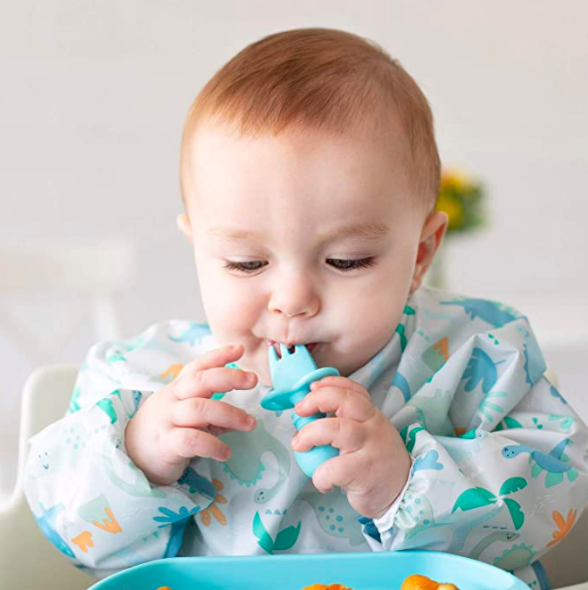
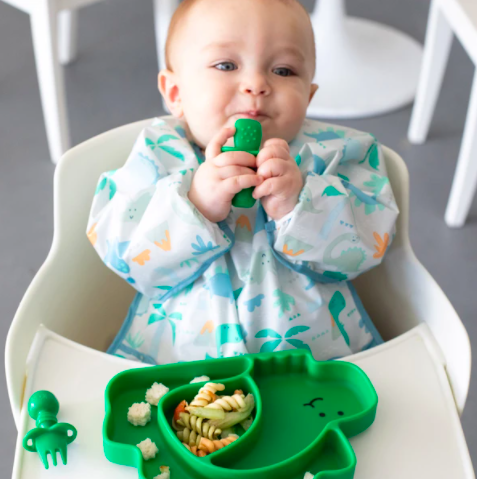
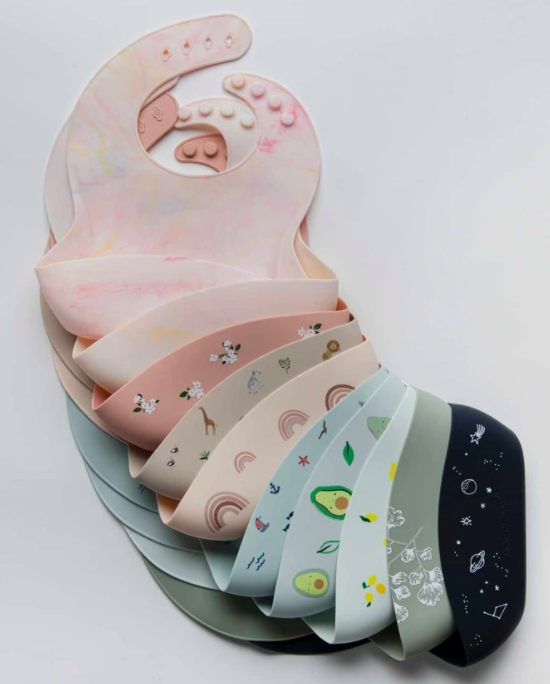
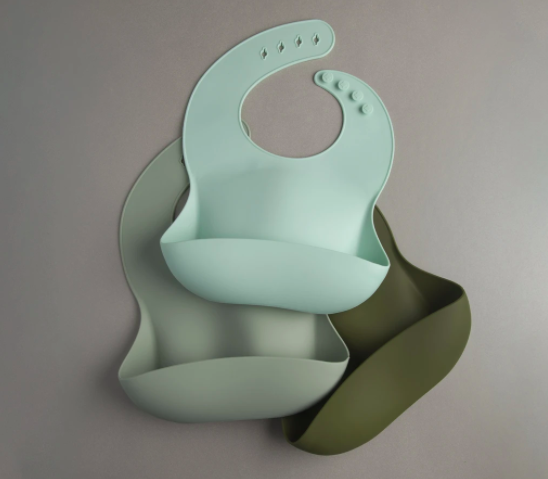
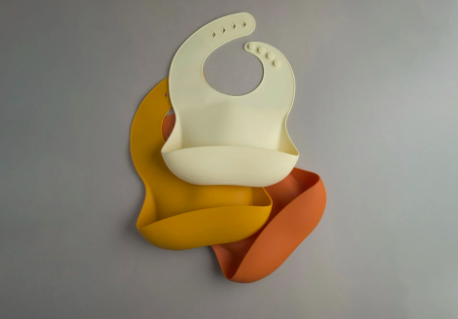
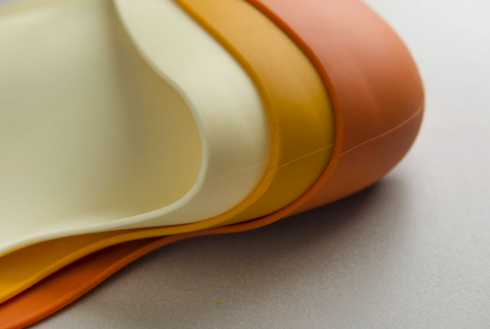
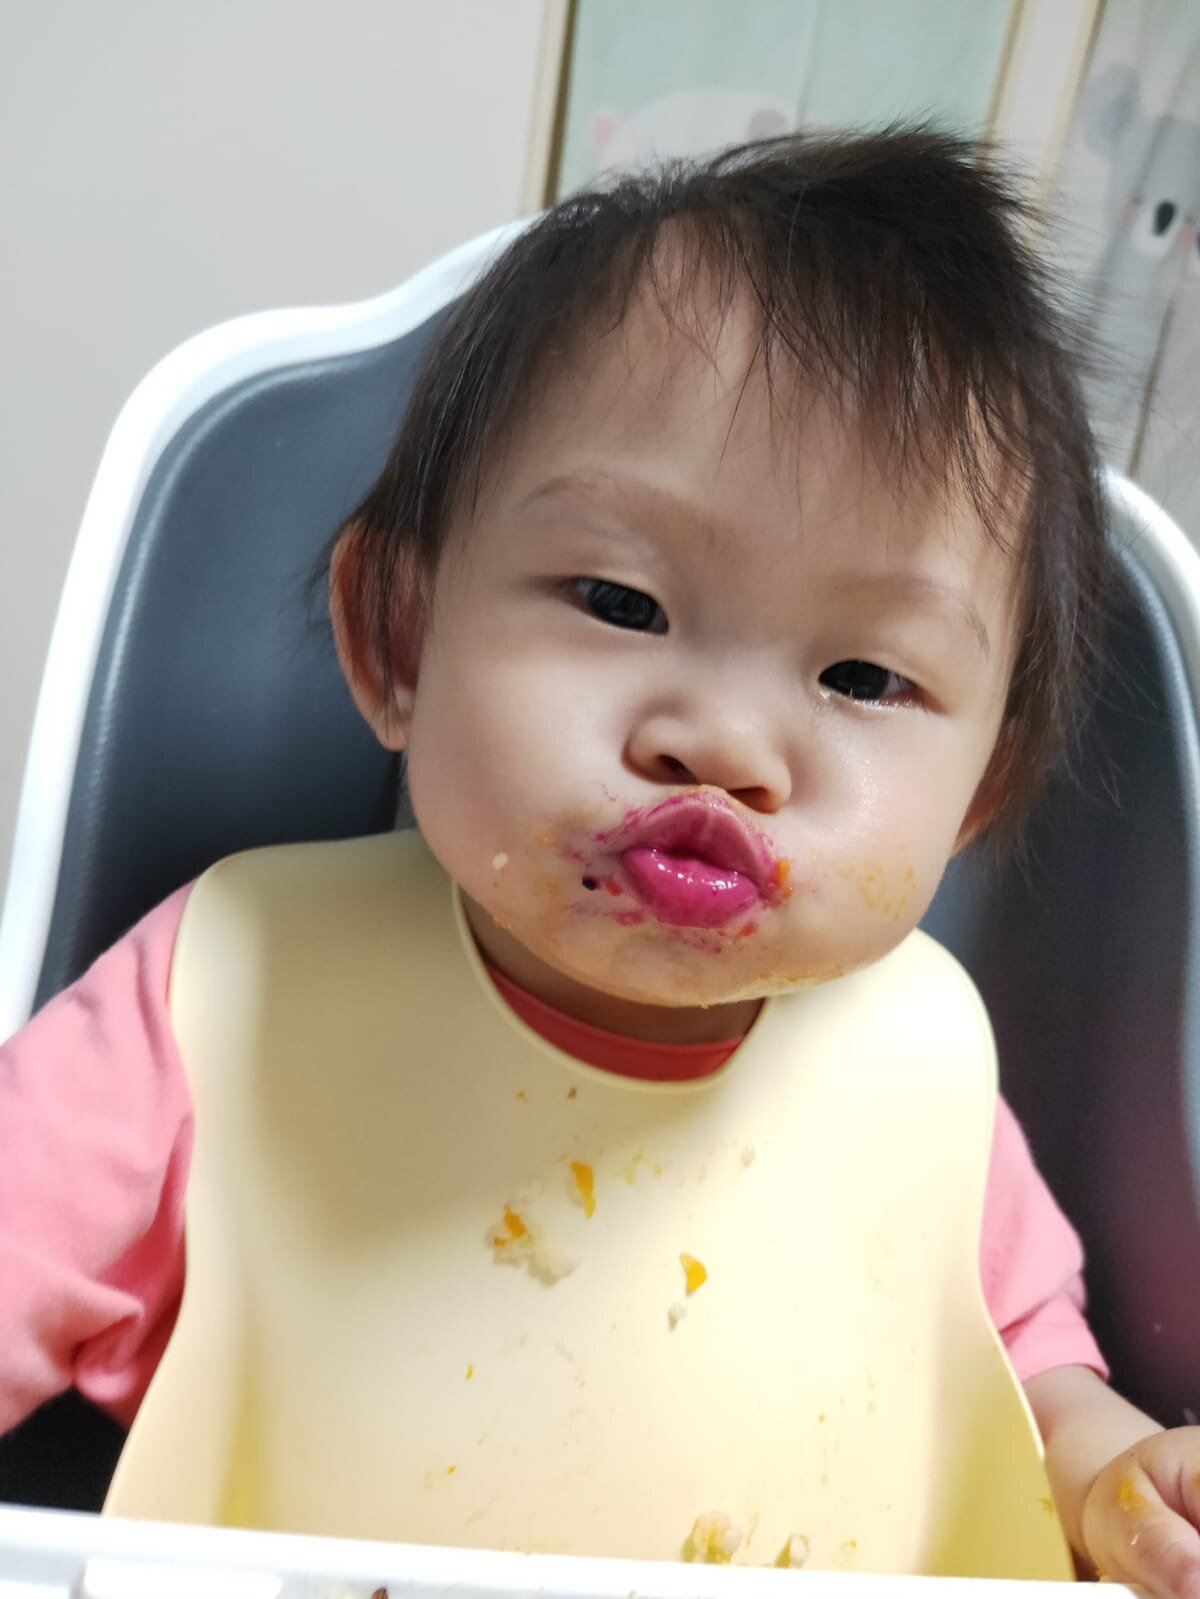
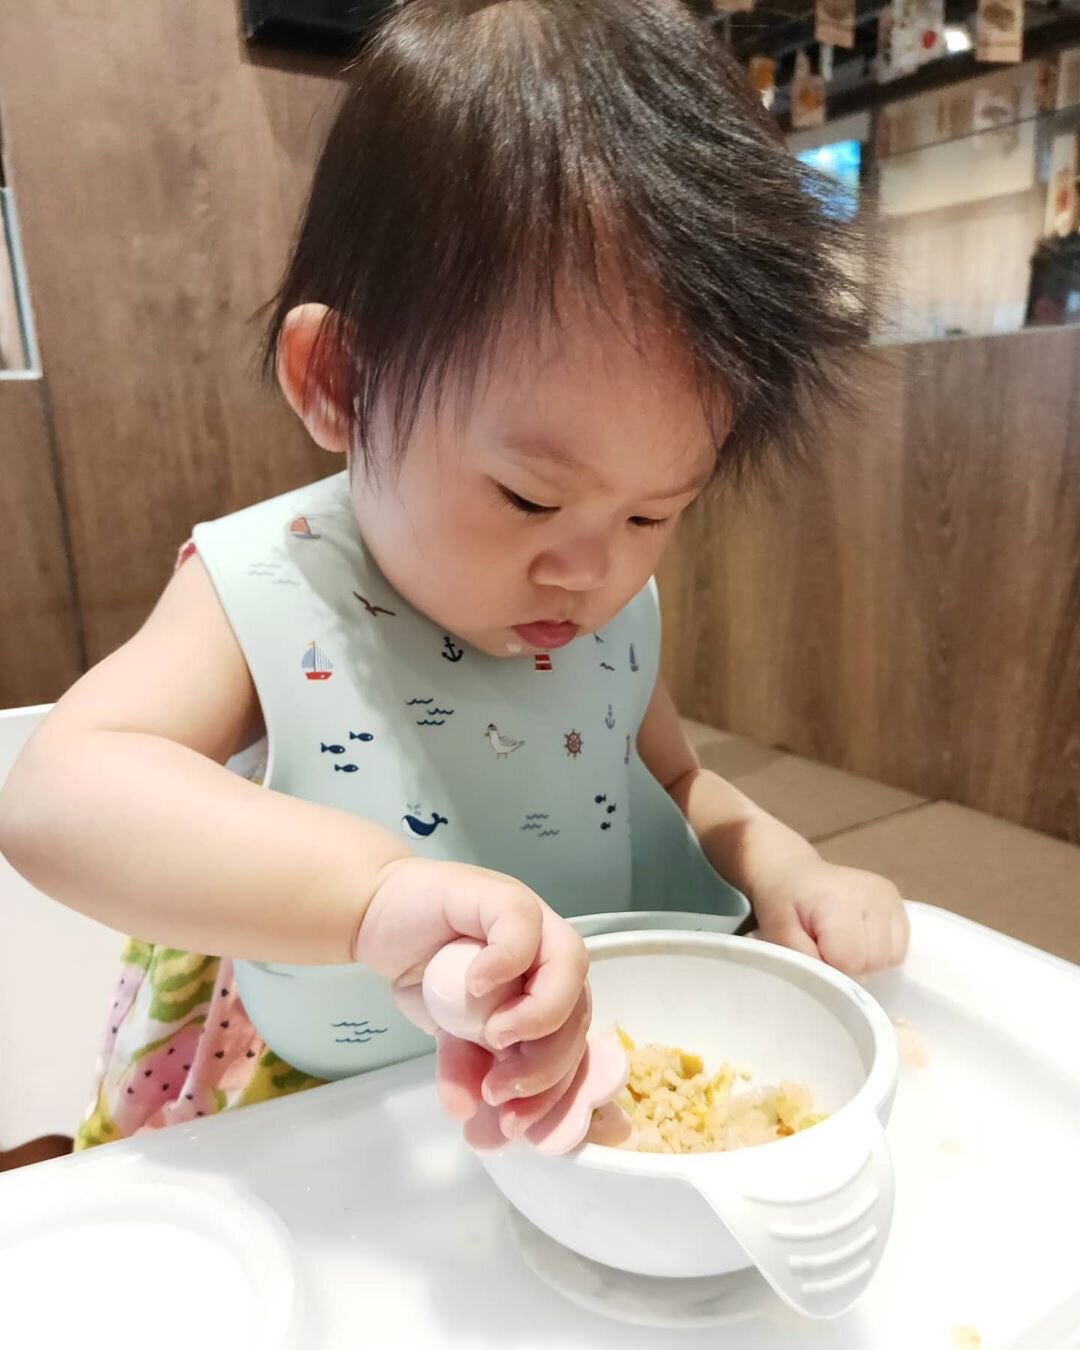
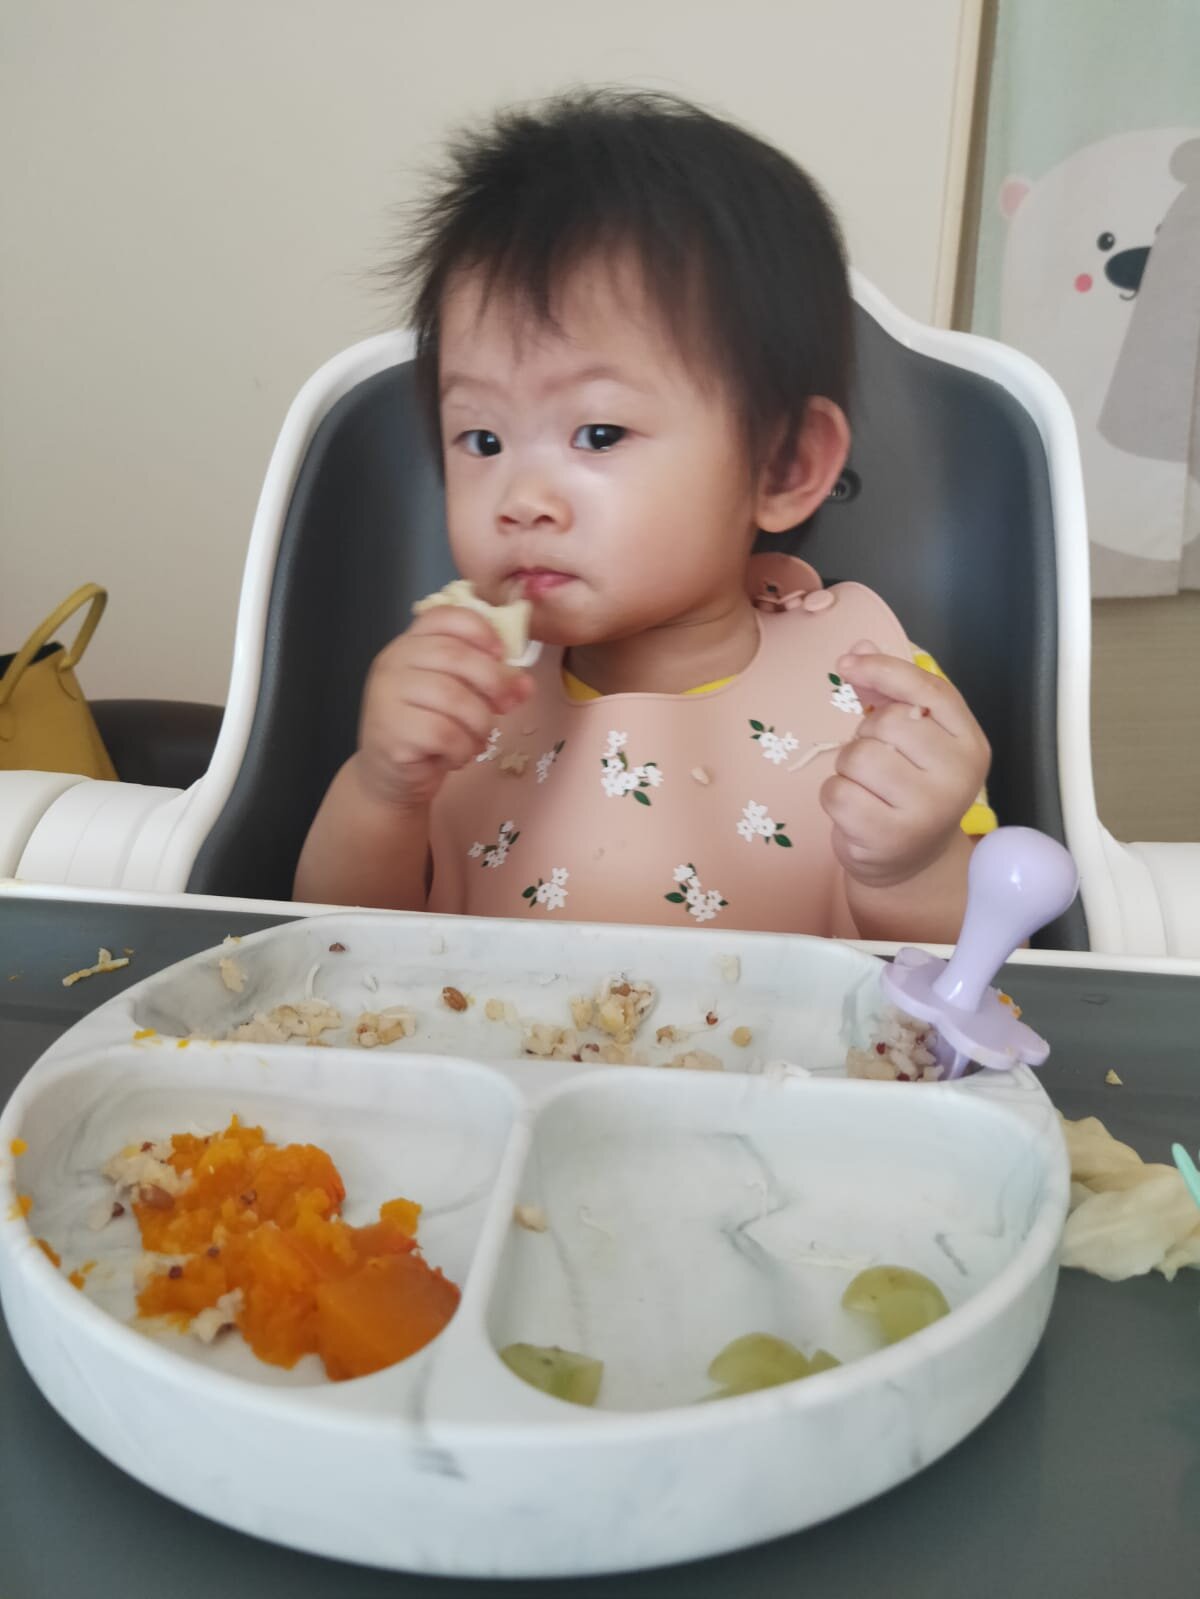
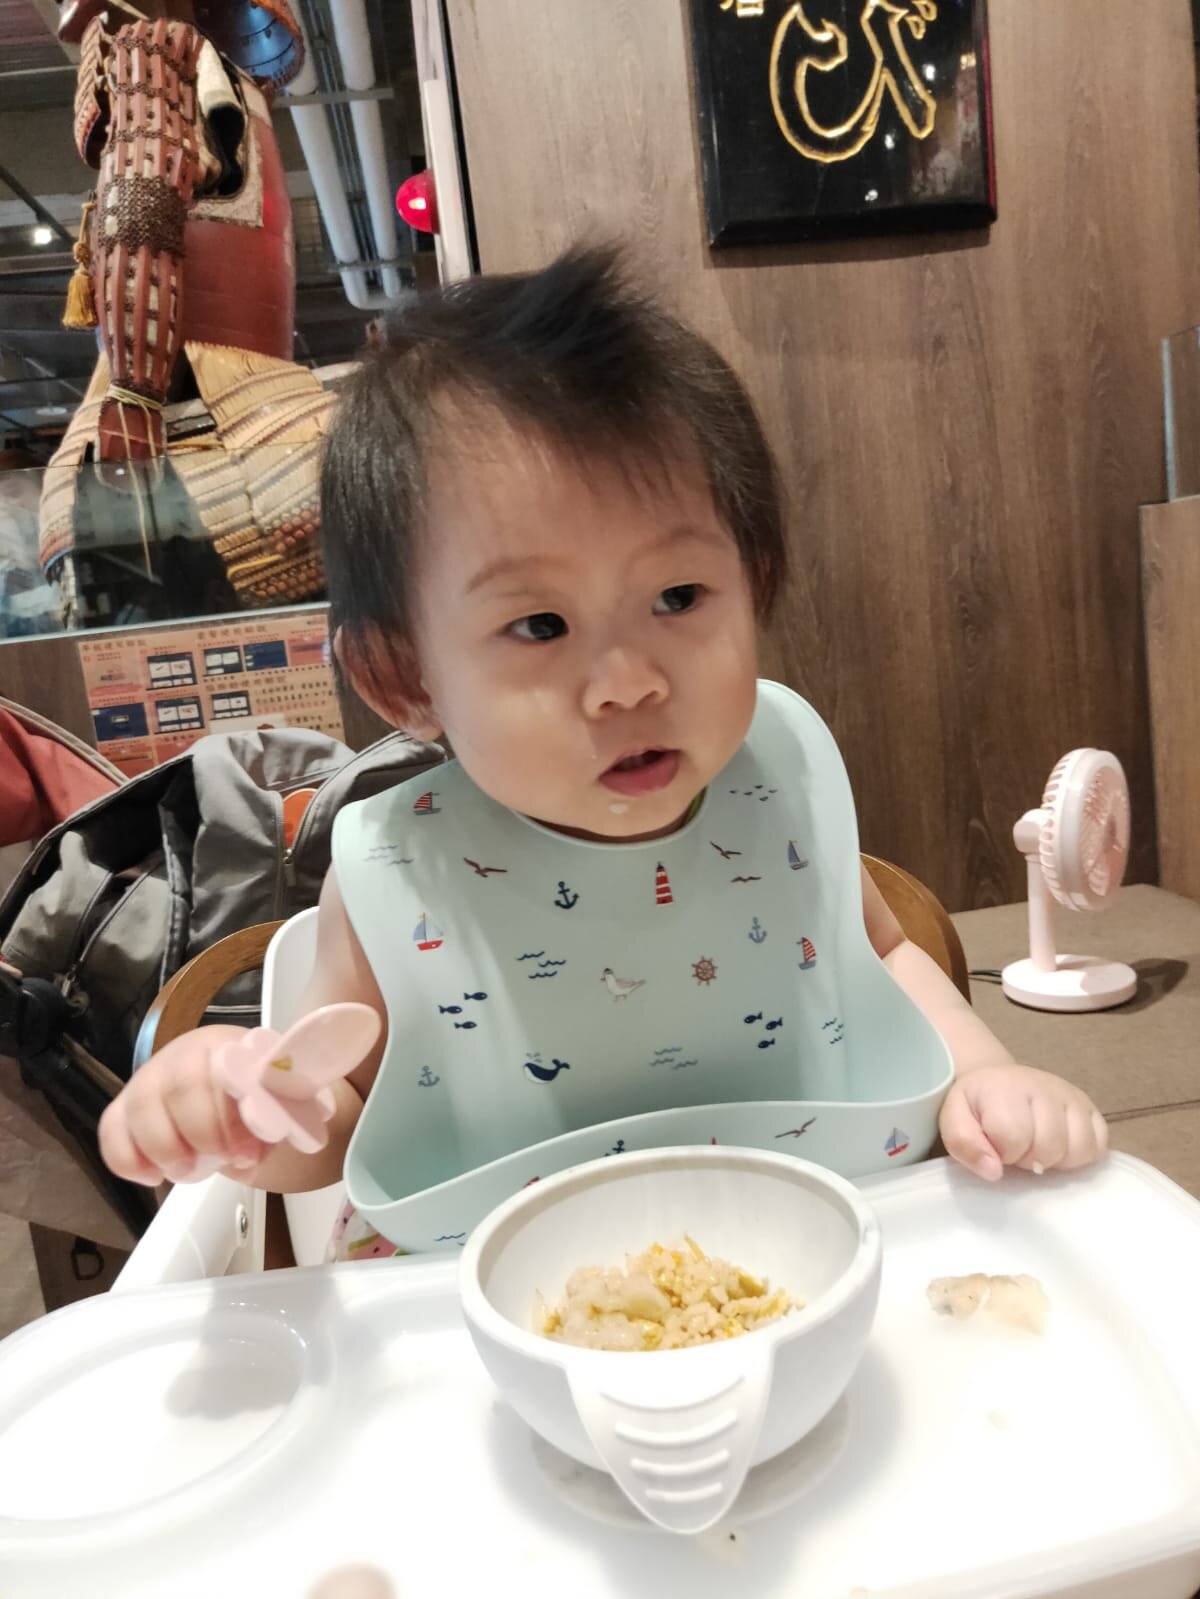
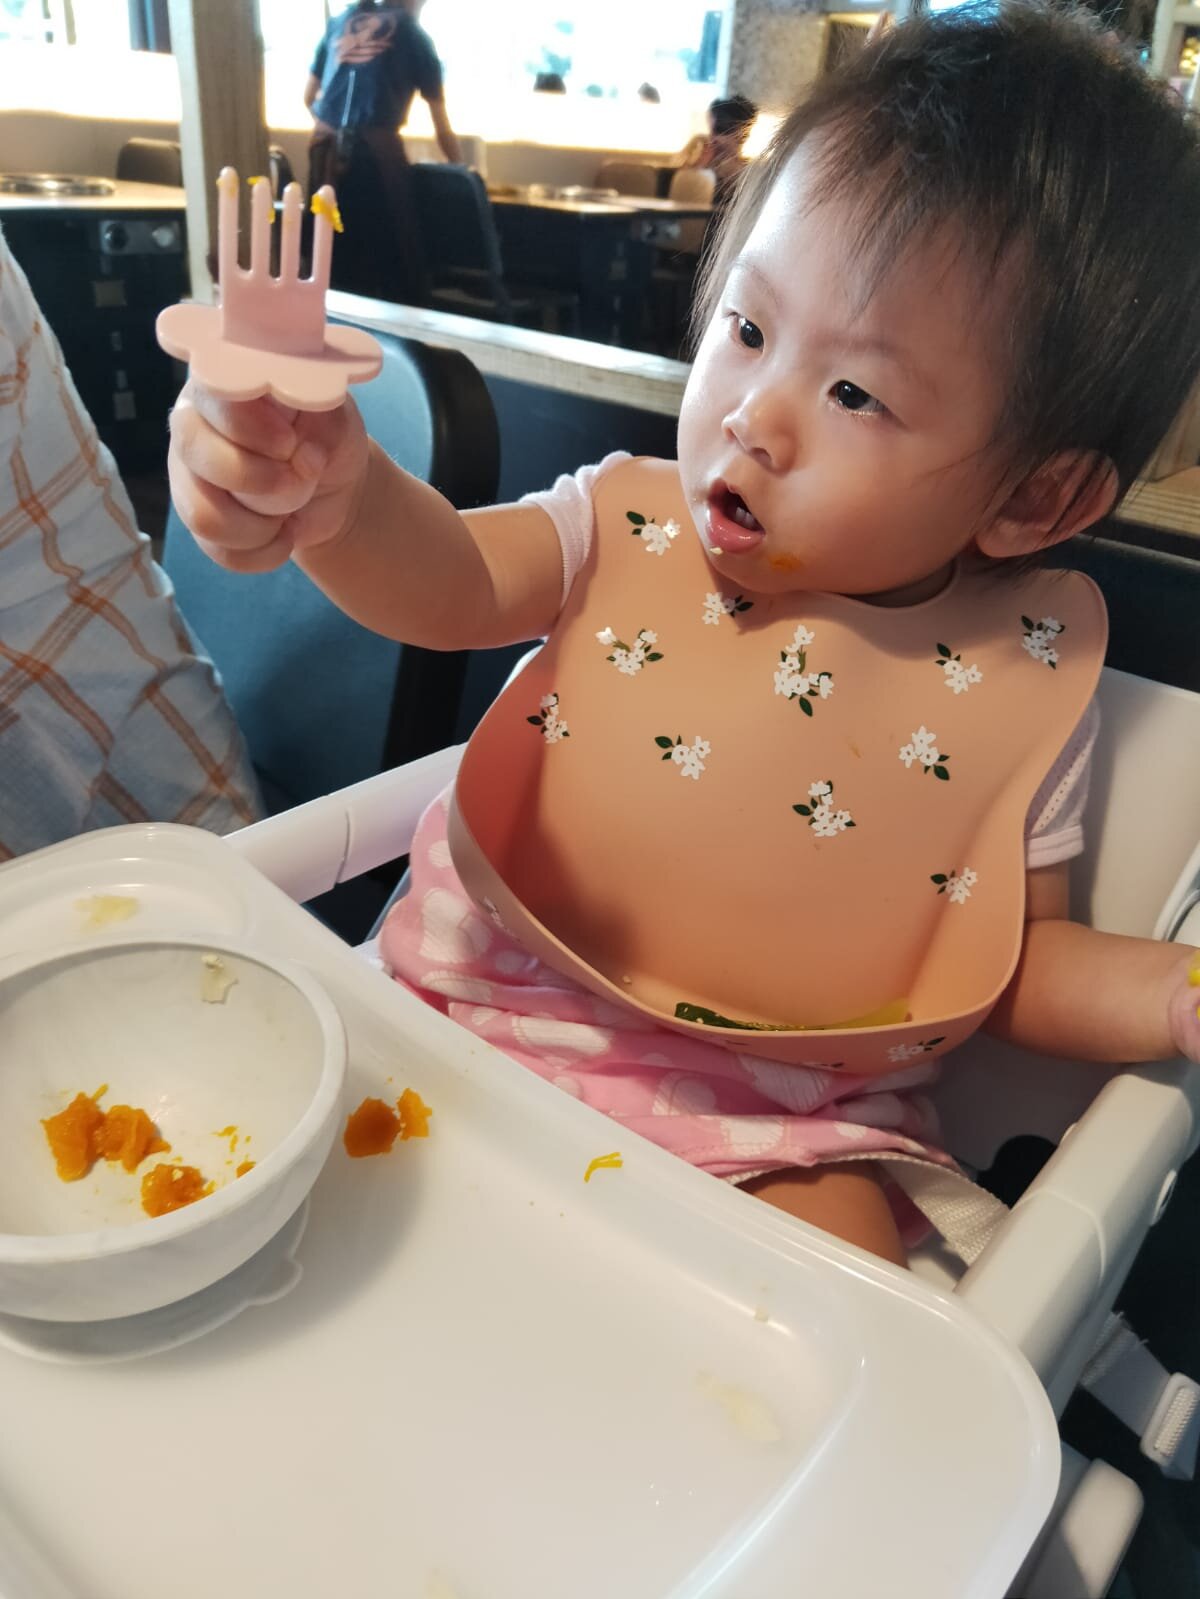
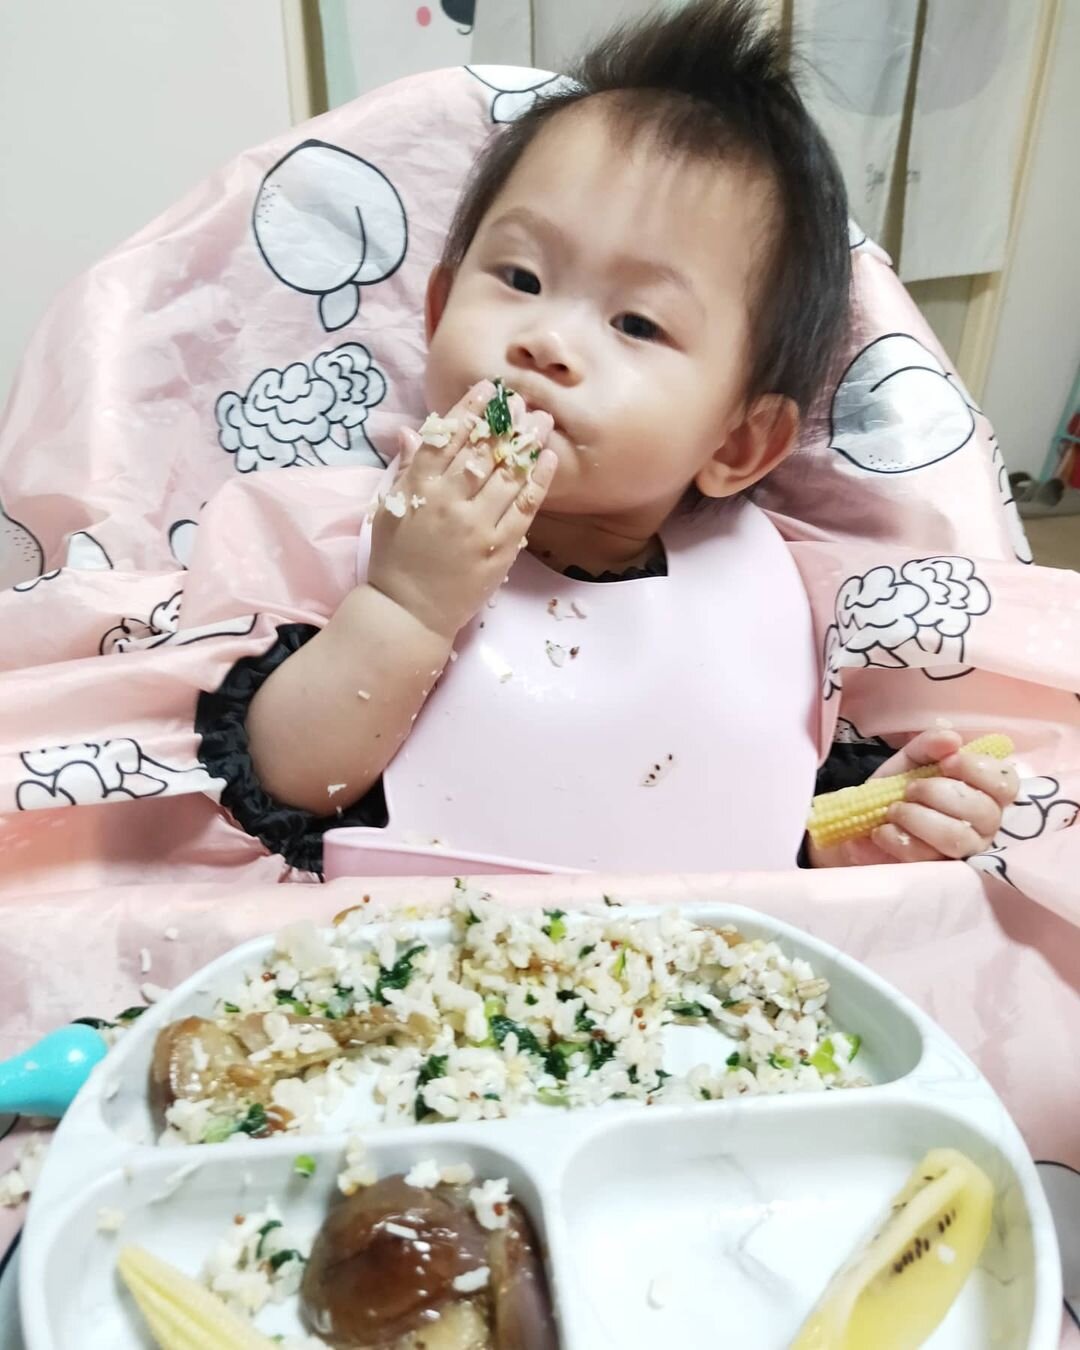
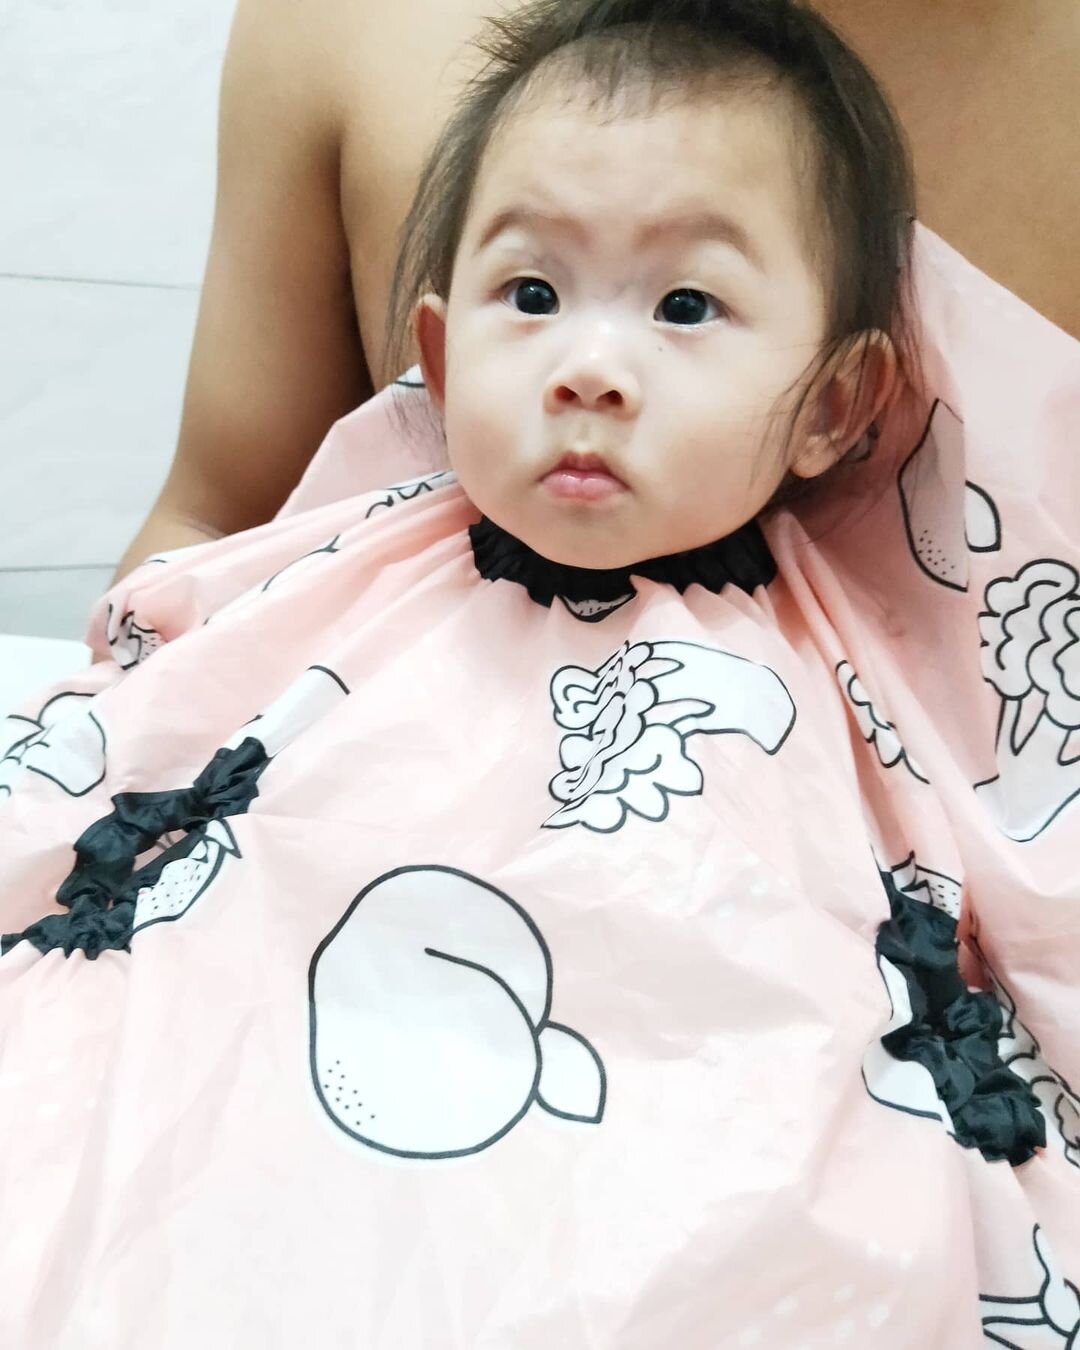
Grabease all-over bibs pros and cons
The good:
Large size covers my daughter and it perfectly pairs with my high chair
Lightweight - roll up the bib for easy storage or to bring it on-the-go!
Washable - Because who has time to hand wash? Both machine and hand wash, remember to hang dry completely before storing
Safe! It BPA-free, PVC-free, vinyl-free, phthalate-free and lead-free
100% polyester with TPU coating for waterproofing - it really keeps my baby dry from drool and spills
I am impressed with Grabease all over bibs waterproof effectiveness
I love its colors, especially the blush one!
Grabease all-over bib has a short sleeves, but this what makes me even love it more, I live in Asia where the weather is quite hot here, my daughter couldn’t stand the heat if she wears a long sleeves bib
You can even use it as cover while making your own baby’s hairstyle
Read also: Best baby self feeding spoon and fork set
The not so good:
You need to have either booster chair or high chair to use it, some restaurant don’t have neither of them, so need to use more on-the-go bibs
I am not a big fan of their stretchy neck and arm holes, my daughter doesn’t really enjoy it
The price is very high comparing with other bibs’ brand

Tidy tot bibs pros and cons
I let my daughter use the iconic bib and tray kit
The good:
The tray can be used for weaning and messy play, keeps food and toys off the floor
Is hygienically clean – provides an antibacterial, food-safe, BPA and Phthalate free surface for your baby to eat from, wherever you are
The tray is easy to assemble, folds away for easy storage
Comes with a storage bag
The not so good:
I rarely use Tidy tots iconic bibs, in my point of view this bibs is not that convenient, it contains bibs and the tray, which I need to clean 2 separate items.
It is hard to find a big space to dry out the tray, since it is pretty big.
My daughter feels left out when she use Tidy tot, because the tray is so big, although she usually sit in her highchair, but Tidy tot’s tray is so big, feels distance, haha, what a dramatic daughter.
She lover drawing, but the tray is not steady enough for drawing purpose.
Conclusion
Over all, if for home use, I like Grabease better than Bumkins. The Grabease bibs can protect my daughter from the mess better and catch the food better. Maybe some of you will concern about the Grabease bibs short sleeves, but this is the feature I like about. I am living in Asia, most of the time is hot here, I’ll let my daughter wear sleeveless clothes, so the short sleeve is not a problem for me. What I like most about Bumkins is the tie back feature. But both of them is not really for on-the-go, you will need to prepare one more bibs meal time outside home. Check out here for on-the-go bibs.
If you are interested in starting your own baby product business, we are welcoming you to be our distributors. Be part of BabyLux family, if you want to be baby products distributors but not sure where to start, drop us a message!